Chances are you like taking pictures of your pens almost as much as writing with them. I do. I even choose cameras based on how well they can take pen pictures and shoot pen video.
There is a wealth of references out there on how to take better pictures in general. Think of this guide as an idiosyncratic footnote. Pen retailers already have beauty shots of the pens they sell from the maker or marketer. These are well-lit, glossy, with no reflections of the photographer or the lens on the clip or cap band.
I am a proud member of the “look, I can see my face on the cap band” tribe. They’re our pen photos; the more personal, the better. What we write or draw is a part of our life story. The photos we take of our tools can help tell our story, too.
All shots taken with an iPhone 5. Macro shots with an olloclip. The occasional edit done with Repix.
Tip 1: Scavenge.
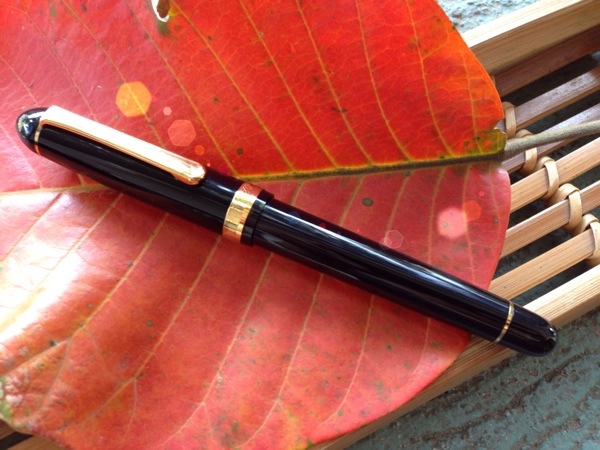
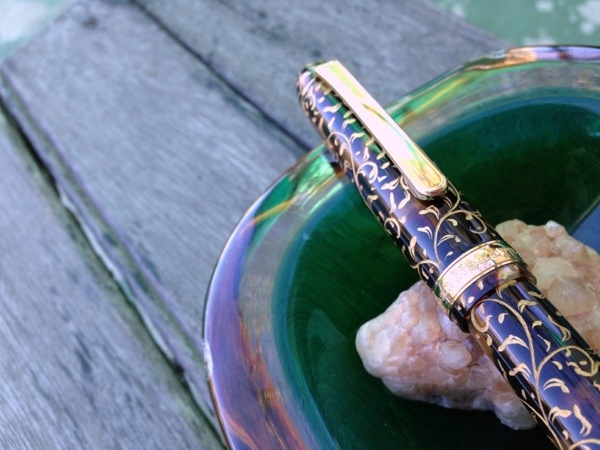
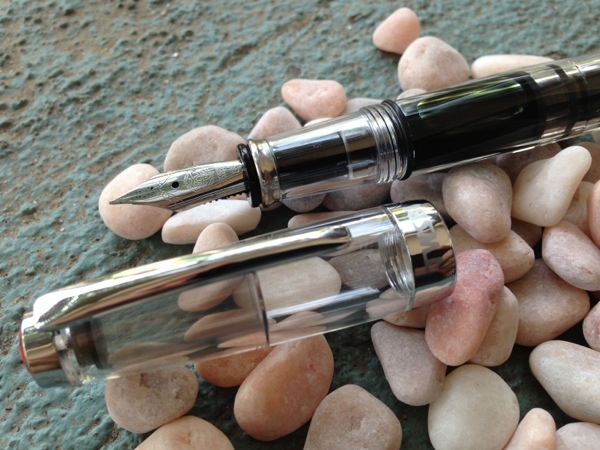
Pens are cylinders. They aren’t exactly the most exciting shape in the world. It’s important to find small props that break up the straight lines and provide an interesting context to the pen. I just grab them from anywhere around the house or office. In the picture above, the reddish-orange of a fallen santol leaf hints at the Eastern origins of a black Platinum 3776 Century. Below, a pebble and a glass ashtray from the seventies prop up a Nakaya tortoiseshell chinkin karakusa. I’ve used toys, bracelets, earrings, paper scraps, cloth, art supplies, mugs, gift candles, wooden trays… Pretty soon you’ll find yourself browsing garage sales for pen shoot props!
Tip 2: Natural light.
Most of us use our pens indoors. Pen shoots require a generous window, or a surface outside the house or office. If you have a professional setup, then you have much more control over when and where. For those of us who don’t, natural light is the easiest available source.
The shot below is straight from the iPhone. A Bexley Imperial in purple ebonite (which I call ubenite, a term my Filipino readers will get) sits inside a scavenged capiz bowl. The capiz acts like a reflector, brightening the scene.

Natural light is a demonstrator’s best friend. You capture details of ink and pen, with a balanced sharpness.
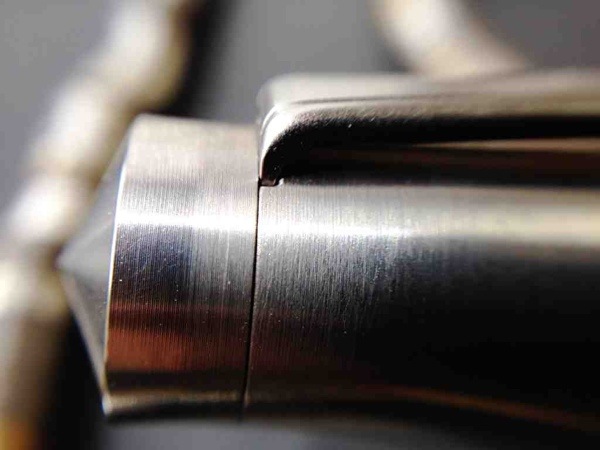
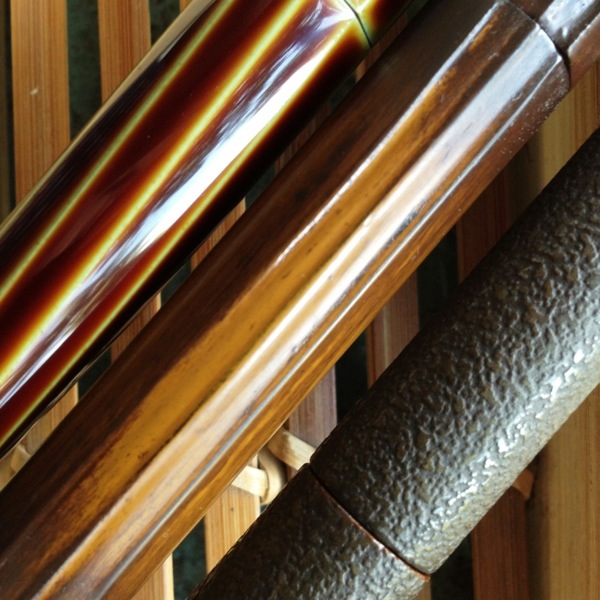
Tip 3: Go closer.
If you love taking pictures of your pens, you need a macro lens, or a simulation thereof. So much of the craftsmanship we want to share with others lies in the pen’s details.
Here, you can see the fine, fine lines left by the machine that shaped titanium into a pen.
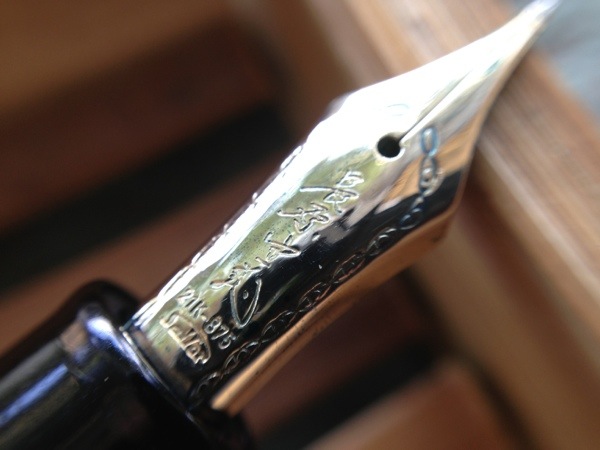
A master’s signature gracing a nib, the symbol of a lifetime’s work.
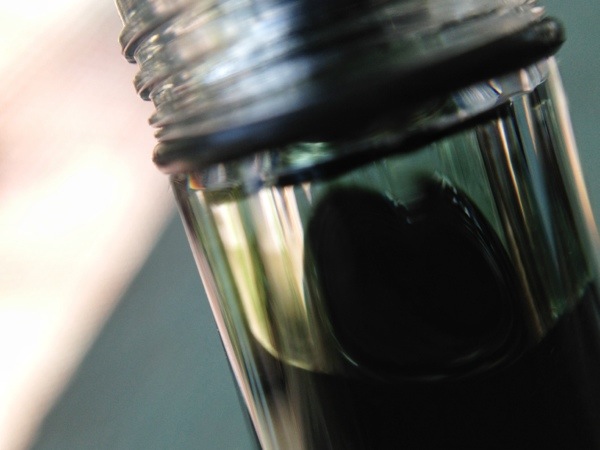
The splash of ink inside a demonstrator.
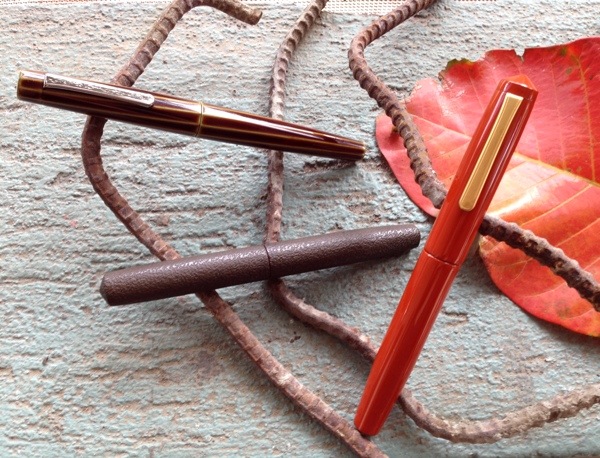
Tip 4: Assemble a cast.
One pen in a photo is characterization. More than one adds tension. At the minimum, you wonder why those two together? The tension can be relieved by a caption, or left for the viewer to resolve.
There’s a story in here somewhere.
Here, too.
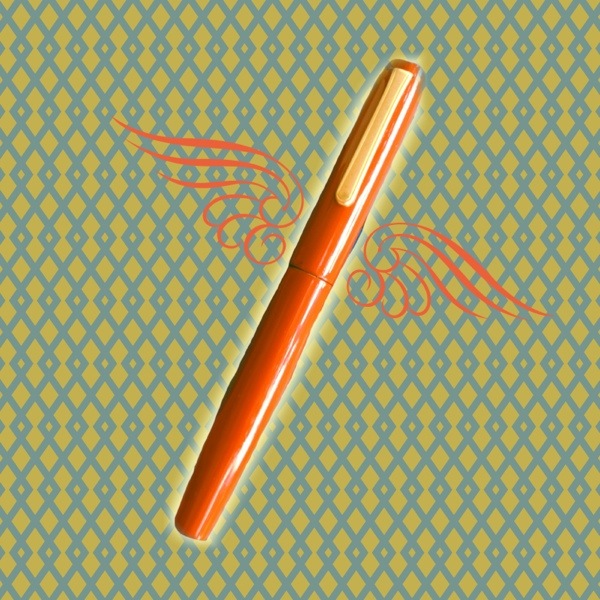
Tip 5: Play.
There are so many post-processing apps now for both iOS and Android that it would be a shame not to play. Pen shots don’t always have to be realistic. Sprinkle in a flare or cartoonify a cap! The pen police will not come and get you. 😉
A Nakaya Long Piccolo in araishu meets Retromatic HD.
Two Nakaya Piccolos, Popsicolored.
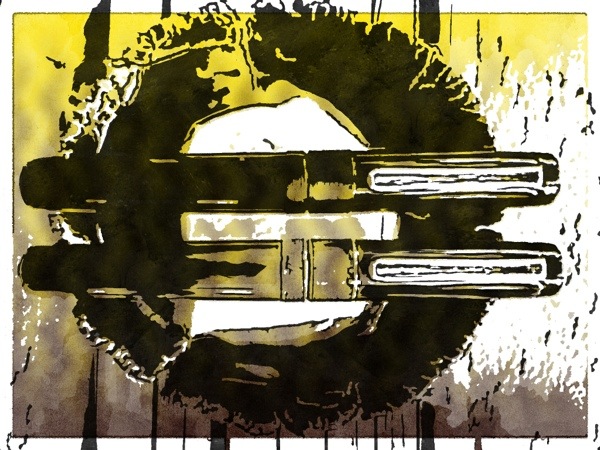
Nakaya Piccolo in titanium and blurry shot of leaves, through Image Blender.

Do you have your own tips for better pen photos? Do comment and share.